
头部背景图片

Troubleshooting Common Problems in Water Temperature Controllers A Comprehensive Guide

2026-02-10
Water temperature controllers are the unsung heroes of countless industries—from HVAC systems and aquaculture to food processing and residential hot water heaters. These devices ensure precise temperature regulation, which is critical for efficiency, safety, and product quality. However, like any mechanical or electronic equipment, they’re prone to malfunctions that can disrupt operations, waste energy, or even cause damage. In this blog, we’ll break down the most common issues with water temperature controllers, their root causes, and step-by-step solutions to get your system back on track.​
1. Temperature Readings Are Inaccurate
One of the most frustrating problems is when the controller’s display doesn’t match the actual water temperature. This can lead to overheating, underheating, or inconsistent performance.​
Common Causes:​
  • Faulty Temperature Sensor (Thermistor/RTD): The sensor is the "eyes" of the controller—if it’s damaged, dirty, or incorrectly calibrated, readings will be off. Sensor probes can corrode over time (especially in harsh water conditions), develop loose connections, or suffer from internal wiring damage.​
  • Calibration Drift: Over time, controllers lose calibration due to wear and tear, voltage fluctuations, or environmental changes (e.g., extreme temperatures in the control panel).​
  • Sensor Placement: If the probe is placed in a dead zone (e.g., too close to a heater, pump, or pipe wall), it won’t measure the average water temperature accurately.​
Troubleshooting Steps:​
  1. Verify with a Reference Thermometer: Submerge a reliable digital thermometer in the same water source to confirm the actual temperature. If there’s a significant discrepancy, the controller or sensor is at fault.​
  1. Inspect the Sensor: Remove the probe and check for corrosion, scaling, or physical damage. Clean it with a soft brush or vinegar solution (for mineral buildup) and ensure wiring connections are tight and free of rust.​
  1. Recalibrate the Controller: Refer to the manufacturer’s manual to recalibrate the device. Most controllers have a calibration mode where you can adjust the display to match the reference thermometer’s reading.​
  1. Adjust Sensor Placement: Relocate the probe to a central area of the water system, away from heat sources, pumps, or stagnant water. Ensure it’s fully submerged (for liquid sensors) and secured to prevent movement.​
2. Controller Fails to Turn On/Respond
If the controller doesn’t power up, display anything, or react to button presses, the issue is likely electrical or mechanical.​
Common Causes:​
  • Power Supply Issues: Tripped circuit breakers, blown fuses, loose power cords, or faulty electrical outlets can cut power to the controller.​
  • Internal Component Failure: Burned-out transformers, capacitors, or circuit boards (due to voltage spikes, moisture, or age) can render the controller non-functional.​
  • Mechanical Jam: Stuck buttons or a damaged front panel (from impact or wear) may prevent the controller from responding.​
Troubleshooting Steps:​
  1. Check Power Connections: Ensure the power cord is firmly plugged into a working outlet. Test the outlet with another device (e.g., a lamp) to confirm it’s supplying power. Reset tripped breakers or replace blown fuses in the electrical panel.​
  1. Inspect for Moisture/Damage: If the controller is installed in a damp environment (e.g., a basement or utility room), check for water intrusion. Moisture can short-circuit internal components—dry the device thoroughly (if safe) or replace it if damage is visible.​
  1. Test with a Multimeter: For advanced users, use a multimeter to check for voltage at the controller’s power input. If there’s no voltage, the problem is in the power supply; if there is voltage but the controller doesn’t respond, internal components may be faulty.​
  1. Reset the Controller: Many models have a reset button (often hidden behind a small hole) or a factory reset option in the menu. Perform a reset to clear any glitches—note that this will erase custom settings.​
  1. Replace Faulty Parts: If internal components (e.g., transformers) are visibly burned or damaged, contact the manufacturer for replacement parts or consider a full controller replacement (if the unit is old or repair costs are high).​
3. Water Temperature Fluctuates Uncontrollably
Another common issue is erratic temperature swings—one minute the water is too hot, the next it’s too cold. This is often caused by a mismatch between the controller and the system, or a failure in the control loop.​
Common Causes:​
  • Incorrect PID Settings: Most modern controllers use PID (Proportional-Integral-Derivative) algorithms to regulate temperature. If the PID parameters (P, I, D) are poorly tuned, the system will overshoot or undershoot the setpoint.​
  • Heater/Pump Malfunctions: The controller relies on external components (e.g., heaters, cooling coils, pumps) to adjust temperature. A faulty heater (e.g., a broken heating element) or a weak pump (that can’t circulate water effectively) will cause fluctuations.​
  • Leaking System: Water leaks can introduce cold water into the system, disrupting temperature stability. Similarly, a blocked pipe or filter can restrict water flow, leading to localized overheating.​
Troubleshooting Steps:​
  1. Tune PID Parameters: Refer to the manufacturer’s guidelines for PID tuning. Start with the default settings, then adjust the proportional (P) gain (reduces offset), integral (I) gain (eliminates steady-state error), and derivative (D) gain (reduces overshoot) incrementally. For beginners, some controllers offer auto-tuning features that optimize settings automatically.​
  1. Inspect Heaters/Cooling Equipment: Check if the heater is turning on/off as directed by the controller. For electric heaters, test the heating element with a multimeter (look for continuity). For gas heaters, ensure the pilot light is lit and the gas supply is consistent. Inspect cooling coils for clogs or leaks.​
  1. Check Water Flow: Ensure pumps are working properly and pipes/filters are free of debris. Low water flow means heat can’t be distributed evenly—clean filters, unclog pipes, or replace weak pumps to improve circulation.​
  1. Fix Leaks: Inspect the water system for leaks (e.g., loose pipe fittings, damaged hoses). Repair leaks promptly to prevent cold water from entering the system and disrupting temperature regulation.​
4. Controller Alarms Constantly (False Alarms)
Many controllers have alarm features to alert users of issues (e.g., high/low temperature, sensor failure). However, false alarms can be annoying and may indicate a problem with the controller or system.​
Common Causes:​
  • Sensor Faults: A damaged or disconnected sensor can trigger a "sensor error" alarm. Similarly, a sensor that’s not fully submerged (in liquid systems) may send incorrect signals.​
  • Alarm Thresholds Set Too Tightly: If the high/low temperature alarms are set too close to the setpoint, minor fluctuations will trigger alarms.​
  • Wiring Issues: Loose or short-circuited sensor wiring can cause the controller to misinterpret signals and trigger false alarms.​
Troubleshooting Steps:​
  1. Check Sensor Connections: Ensure the sensor wiring is securely connected to the controller. Inspect the wires for fraying, corrosion, or short circuits (e.g., wires touching each other). Repair or replace damaged wiring.​
  1. Verify Sensor Functionality: Test the sensor with a multimeter (if compatible) to confirm it’s sending accurate signals. For thermistors, check the resistance against the manufacturer’s specifications—if it’s outside the expected range, replace the sensor.​
  1. Adjust Alarm Thresholds: Widen the high/low temperature alarm ranges to account for normal system fluctuations. For example, if the setpoint is 50°C, set the high alarm to 55°C and the low alarm to 45°C (adjust based on your system’s needs).​
  1. Reset Alarms: Clear the alarm history in the controller’s menu and monitor the system to see if the alarm recurs. If it does, repeat the above steps to identify the root cause.​
5. Controller Doesn’t Communicate with Other Devices (e.g., PLCs, IoT Platforms)
In industrial settings, controllers often need to communicate with PLCs (Programmable Logic Controllers) or IoT platforms for remote monitoring. Communication failures can disrupt data collection and remote control.​
Common Causes:​
  • Incorrect Communication Settings: Mismatched baud rates, parity settings, or protocol types (e.g., Modbus, Ethernet/IP) between the controller and the connected device.​
  • Faulty Communication Cables: Damaged Ethernet cables, RS485 cables, or loose connections can block data transmission.​
  • Firewall/Network Issues: For IoT-connected controllers, network firewalls may block the controller’s IP address, or the device may not be connected to the correct Wi-Fi network.​
Troubleshooting Steps:​
  1. Verify Communication Settings: Cross-check the controller’s communication settings (baud rate, parity, protocol) with the connected device (e.g., PLC, IoT gateway). Ensure they match exactly—even a small mismatch (e.g., 9600 vs. 19200 baud) will cause failure.​
  1. Inspect Cables and Ports: Replace damaged communication cables with high-quality, shielded cables (to reduce interference). Ensure cables are plugged into the correct ports (e.g., RS485 A/B terminals) and secured tightly.​
  1. Test Network Connectivity: For Wi-Fi-enabled controllers, check if the device is connected to the correct network. Verify the Wi-Fi password, signal strength, and ensure the network firewall allows traffic from the controller’s IP address. Use a network scanner to confirm the controller is visible on the network.​
  1. Update Firmware: Outdated firmware can cause compatibility issues with other devices. Check the manufacturer’s website for firmware updates and install them following the instructions provided.​
Prevention Tips to Avoid Future Problems
While troubleshooting is essential, proactive maintenance can reduce the frequency of issues:​
  • Regular Cleaning: Clean the sensor probe and controller housing monthly to remove dirt, scaling, or corrosion.​
  • Calibrate Annually: Calibrate the controller at least once a year (or more frequently in harsh environments) to ensure accurate readings.​
  • Protect from Moisture: Install the controller in a dry, well-ventilated area. Use waterproof enclosures if it’s exposed to dampness.​
  • Inspect Wiring: Check power and sensor wiring quarterly for signs of damage or wear.​
  • Follow Manufacturer Guidelines: Adhere to the recommended operating temperature range, voltage limits, and maintenance schedules.​
When to Call a Professional
If you’ve tried the above troubleshooting steps and the problem persists, or if you’re uncomfortable working with electrical components, it’s time to call a professional technician. Seek help if:​
  • The controller has visible burn marks, water damage, or internal component failure.​
  • Temperature fluctuations are severe and affect safety (e.g., overheating in a food processing system).​
  • Communication issues persist despite verifying settings and network connectivity.​
  • The controller is outdated (more than 10 years old) and requires frequent repairs.​
Conclusion
Water temperature controller issues can be frustrating, but most are solvable with basic troubleshooting skills. By identifying the root cause—whether it’s a faulty sensor, incorrect settings, or power supply problems—you can minimize downtime and keep your system running efficiently. Remember to prioritize safety when working with electrical equipment, and don’t hesitate to seek professional help if needed.​
Have you encountered other problems with water temperature controllers? Share your experiences in the comments below!

What Is a Water Cooled Screw Chiller and How It Works

2026-02-10
If you’ve ever wondered how large-scale facilities like data centers, plastic factories, or food processing plants maintain stable low temperatures, the answer often lies in a water cooled screw chiller. This industrial cooling workhorse combines precision engineering with efficient heat transfer to deliver consistent refrigeration—let’s break down what it is and how it operates.
What Is a Water Cooled Screw Chiller?
At its core, a water cooled screw chiller is a refrigeration system designed to cool fluids (typically water or glycol solutions) by transferring heat away from the target space or process. Unlike air-cooled alternatives that use ambient air for heat dissipation, it relies on a water-based cooling loop paired with a cooling tower to expel heat more efficiently .​
Its defining feature is the screw compressor—often called the "heart" of the system . This component uses two intermeshing rotors (a male "Male rotor" and female "Female rotor") to compress refrigerant, replacing the piston mechanism found in older chillers. This design eliminates pulsation and noise, making the unit ideal for continuous, high-load operations.​
 
These chillers also boast impressive versatility: they can maintain temperatures ranging from -50℃ to 7℃ , supporting applications from deep-freeze storage to industrial process cooling. Modern models often include modular designs, allowing multiple compressors to run independently for enhanced reliability .​
 
How Does a Water Cooled Screw Chiller Work?
The system operates on the vapor compression cycle—a four-step process that uses refrigerant 相变 (phase changes) to move heat. Here’s a detailed walkthrough:​
1. Compression: The "Power Boost" Stage
The cycle starts with the screw compressor. Low-temperature, low-pressure refrigerant gas (often R134a or R407C ) is drawn into the gap between the rotating rotors. As the rotors mesh tighter, the gas is squeezed into a smaller volume, increasing its pressure to 1.5–2.5MPa and temperature to 70–90℃ .​
Lubricating oil plays a critical role here: it seals the gaps between rotors, cools the compressed gas, and reduces friction . An oil separator later recovers this oil (with efficiency up to 99.5% ) to keep the system clean and efficient.​
2. Condensation: Heat Excretion
The hot, high-pressure refrigerant gas then flows into the water-cooled condenser—a heat exchanger usually made of copper tubes . Here, cool water (30–35℃ ) from a cooling tower circulates around the tubes, absorbing heat from the refrigerant. This causes the refrigerant to condense into a high-pressure liquid, releasing about 60% of the system’s total heat .​
The now-warmed water is pumped back to the cooling tower, where it releases heat into the atmosphere before returning to the condenser . This closed-loop water system ensures efficient heat dissipation even in hot environments.​
3. Throttling: Pressure Reduction
Next, the high-pressure liquid refrigerant passes through a throttle device (typically a thermal or electronic expansion valve ). This component acts as a "gatekeeper," suddenly reducing the refrigerant’s pressure to 0.3–0.6MPa . The pressure drop causes some of the liquid to evaporate into a low-temperature, two-phase mixture (liquid + vapor) ready for cooling.​
4. Evaporation: The Cooling "Payoff"
The cold refrigerant mixture enters the evaporator—another heat exchanger—where it comes into contact with warm "chilled water" from the facility’s cooling loop. The refrigerant absorbs heat from this water, boiling into a gas and cooling the water to 7–12℃ . This cooled water is then pumped to servers, machinery, or air handlers to maintain desired temperatures.​
Finally, the low-pressure refrigerant gas returns to the screw compressor, and the cycle repeats .
Key Components That Make It Tick
Beyond the four core cycle stages, these parts ensure smooth operation:​
  • Microcomputer Control System: The "brain" that monitors 100+ parameters (pressure, temperature, current) and adjusts compressor load via slide valve for energy efficiency . It triggers alarms or shutdowns for safety.​
  • Lubrication System: Includes oil coolers, pumps, and filters to keep the compressor’s rotors and bearings protected .​
  • Safety Devices: High/low pressure protection, water flow sensors, and overload guards prevent system damage .​
Why Choose a Water Cooled Screw Chiller?
These units stand out for three key reasons:​
  1. Efficiency: Water transfers heat better than air, delivering higher cooling capacity with lower energy use .​
  1. Stability: Screw compressors have no moving parts prone to wear, offering 40,000+ hours of reliable operation .​
  1. Quiet Operation: Rotor meshing produces less noise than piston compressors, suitable for indoor or noise-sensitive areas .​
Wrapping Up


Water cooled screw chillers are the unsung heroes of industrial and commercial cooling. By leveraging the vapor compression cycle and precision screw technology, they move heat efficiently, reliably, and quietly—even under heavy loads. Whether you’re cooling a data center or a food production line, understanding how this system works helps appreciate the engineering that keeps our critical infrastructure running cool.​


Have you encountered other problems with water temperature controllers? Share your experiences in the comments below!
What Is a Water Temperature Controller and How Does It Work?

2026-02-10

Industrial Chillers with Water Temperature Controllers: Principles, Components, and Applications

In modern manufacturing, industrial chillers are indispensable, and their core "brain"—the water temperature controller—ensures precise temperature control during production. This article will detail the working principle, key components, and industrial applications of industrial chillers integrated with water temperature controllers.
 

1. Core Working Principle of Industrial Chillers with Water Temperature Controllers

The water temperature controller coordinates the entire cooling cycle of the industrial chiller, maintaining the fluid temperature within a set range. The specific process is as follows:
  • Temperature Sensing: The system is equipped with built-in sensors (usually thermistors or thermocouples) that continuously detect the temperature of the circulating water (or coolant) in real time.
  • Signal Comparison: The controller compares the detected actual temperature with the preset target temperature.
  • Cycle Regulation: If the actual temperature is higher than the set value, the controller activates the refrigeration system; when the temperature drops to the target value, the controller pauses or adjusts the system to maintain temperature stability.
  • Refrigeration Cycle Coordination: The controller coordinates the operation of the compressor, condenser, and evaporator to absorb heat from the circulating fluid, cool it down, and then send the cooled fluid back to the production equipment.


2. Main Components of Industrial Chillers (Including Water Temperature Controllers)

Each component works in synergy with the water temperature controller to ensure efficient and stable operation of the equipment:
  • Water Temperature Controller: The core control unit, responsible for temperature sensing, signal comparison, and issuing operation commands. It supports manual parameter setting and automatic adjustment.
  • Compressor: The "heart" of the refrigeration system. Under the command of the controller, it compresses low-pressure refrigerant into high-pressure gas.
  • Condenser: Cools high-temperature refrigerant gas into liquid and releases heat to the external environment through air cooling or water cooling.
  • Evaporator: The refrigerant absorbs heat from the circulating water here, lowering the water temperature to the required level.
  • Circulation Pump: Delivers the cooled water to production equipment and simultaneously sends the water (which has absorbed heat and increased in temperature) back to the evaporator for re-cooling.
  • Water Tank and Filter: The water tank stores circulating water; the filter prevents impurities from clogging the system, avoiding impacts on temperature control accuracy.


3. Key Applications in Mold, Plastic, Chemical, and Other Industries

Industrial chillers equipped with precise water temperature controllers are widely used in various manufacturing fields, effectively solving critical temperature control challenges:

(1) Mold Industry

During injection molding, die casting, or blow molding processes, molds generate a large amount of heat. The chiller achieves uniform cooling of the mold surface through the water temperature controller.
  • Advantages: Shortens product cooling time and improves production efficiency; reduces mold deformation, ensuring consistent product dimensions and surface quality.

(2) Plastic Industry

In plastic processing (such as extrusion and injection molding), strict temperature control is required for raw material melting and molding.
  • The water temperature controller maintains stable temperatures of the machine barrel and mold by adjusting the output of the chiller, preventing defects such as bubbles, warping, and uneven thickness in plastic products.

(3) Chemical Industry

Chemical reactions (e.g., reactions in reactors or distillation towers) are often accompanied by significant heat absorption or release. Loss of temperature control not only affects reaction efficiency but may even cause safety hazards.
  • Industrial chillers cool the reaction system in real time, ensuring the reaction proceeds within the optimal temperature range, improving product purity, and reducing energy consumption.

(4) Other Industries

In addition, they are also used in the electronics industry (cooling circuit boards and components), food processing industry (refrigerating production lines), and pharmaceutical industry (controlling the temperature of drug crystallization), among others.


4. Conclusion

The water temperature controller is the core of the industrial chiller, enabling precise, efficient, and stable temperature control—an element that directly affects production quality and efficiency. Whether in the mold, plastic, or chemical industry, selecting an industrial chiller equipped with a reliable water temperature controller is key to optimizing manufacturing processes.  
Would you like me to customize an industrial chiller selection list based on specific industry needs (such as mold size or plastic processing capacity)? Njlvmachines is a professional water temperature controller manufacturer. This list will help you quickly determine the appropriate equipment parameters.

What Is an Oil Temperature Controller and Its Industrial Uses

2026-02-10
If you’ve ever wondered how manufacturers achieve consistent quality in high-heat processes—from perfectly molded plastic parts to precisely distilled chemicals—chances are an oil temperature controller (OTC) is behind the scenes. These unsung heroes of industrial thermal management play a critical role in keeping temperatures stable, safe, and efficient across countless sectors. Let’s break down what they are, how they work, and where they shine.
What Exactly Is an Oil Temperature Controller?​
 
An oil temperature controller—often called an oil TCU (temperature control unit)—is a closed-loop industrial system designed to precisely regulate the temperature of heat transfer oils for high-temperature processes . Unlike water-based systems limited by water’s 100°C boiling point, OTUs use specialized thermal oils (mineral or synthetic) to reach and maintain temperatures from 50°C up to 350°C (and even higher in custom setups) .​
The magic lies in their ability to deliver stable, uniform heat transfer—a make-or-break factor for processes where temperature fluctuations cause defects, safety risks, or wasted materials . Modern OTUs boast precision as tight as ±1°C (or even ±0.1°C in advanced models) thanks to PID (Proportional-Integral-Derivative) control algorithms .​
 
How Does an Oil Temperature Controller Work?​
 
OTUs operate on a simple but effective closed-loop cycle, powered by five core components :​
  1. Heater: An electric heater raises the thermal oil to the target temperature.​
  1. High-Temperature Pump: Circulates oil between the TCU and process equipment (e.g., molds, reactors) for even heat distribution.​
  1. Expansion Tank: Accommodates oil’s thermal expansion to prevent dangerous pressure buildup.​
  1. Temperature Sensor & Controller: A precision sensor measures real-time temperature, while the PID controller adjusts heating (or optional cooling) to maintain setpoints.​
  1. Optional Cooling System: Rapidly lowers temperature for processes requiring thermal cycling, using air or water heat exchangers .​
This closed-loop design minimizes oil oxidation, evaporation, and contamination—cutting maintenance costs while boosting safety .​
 
Key Industrial Uses: Where OTUs Are Indispensable​
 
OTUs thrive in applications demanding high heat, stability, and precision. Here are their most critical roles across industries:​
1. Plastics & Rubber Processing​
Injection molding, extrusion, and vulcanization rely on OTUs to keep molds and barrels at consistent temperatures . For example, a 3-zone portable TCU with 36kW heaters maintains 260°C temperatures for automotive plastic components, reducing defects like warping or incomplete filling . High-temperature models (up to 350°C) handle engineering plastics like nylon, where precise heat ensures proper molecular bonding .​
 
2. Chemical & Pharmaceutical Manufacturing​
OTUs control jacketed reactors and distillation columns in processes like polymerization, esterification, and drug synthesis . A custom HTF oil system with 192kW heating capacity keeps chemical reactions at 260°C, while Ethernet-connected controls allow remote monitoring for regulatory compliance . In pharmaceuticals, stainless steel OTUs with NEMA 4X enclosures prevent contamination in sterile production .​
 
3. Metal Forming & Die Casting​
Aluminum and magnesium die casting require OTUs to regulate mold temperatures, ensuring smooth part ejection and reducing scrap . Mokon’s 2-zone TCU heats and cools motor oil for engine test stands, simulating real-world operating conditions for automotive components .​
 
4. Composite Materials Production​
Carbon fiber and SMC/BMC composites depend on OTUs for uniform curing. A 500kW oil recirculating system maintains precise temperatures during composite layup, critical for military gear like bulletproof panels .​
 
5. Food & Textile Industries​
In food processing, OTUs handle oil heating for frying and vacuum deodorization of fats . Textile manufacturers use them for heat setting fabrics and dyeing, where stable temperatures ensure color consistency .​
 
Why Choose an Oil TCU Over Water-Based Systems?​
Water controllers work for low-heat tasks, but OTUs excel in high-temperature scenarios for three key reasons :​
  • Higher Temperature Range: Reach 350°C without pressurization (vs. 100°C for unpressurized water).​
  • Better Thermal Stability: Heat transfer oils resist breakdown at high temps, minimizing hotspots .​
  • Lower Equipment Stress: Operate at 5MPa pressure, reducing the need for heavy-duty, high-pressure hardware .​
Plus, modern OTUs offer energy-saving features like insulated tanks, programmable ramps, and auto-shutdown—cutting utility costs by up to 30% .​
 
Tips for Selecting & Maintaining an Oil TCU​
 
To get the most out of your OTC:​
  • Match Capacity to Your Process: Calculate heating/cooling loads and flow rates (e.g., 375 GPM for calendering rolls ).​
  • Use Approved Oils: Low-quality oils cause carbon buildup and component damage .​
  • Schedule Routine Maintenance: Clean filters, inspect for leaks, and calibrate sensors quarterly .​
  • Prioritize Safety: Look for over-temperature protection, leak detection, and emergency stops .​
Final Thoughts​
Oil temperature controllers are the backbone of high-heat industrial processes, turning variable conditions into consistent results. From plastic parts to life-saving pharmaceuticals, their precision and reliability directly impact product quality, safety, and profitability. Whether you’re scaling production or upgrading existing equipment, understanding OTUs’ capabilities is key to unlocking efficiency in your operations.

Have you encountered other problems with water temperature controllers? Share your experiences in the comments below!

What Features Should You Look for in a High-Quality Electric Mobile Telescopic Belt Conveyor?

2026-02-10

You've made the strategic decision to automate your loading dock. You know that an electric mobile telescopic belt conveyor can revolutionize your workflow by slashing loading times, reducing labor costs, and improving safety. But with several models on the market, how do you ensure you're investing in a truly high-quality solution that will deliver lasting value?


Not all conveyors are created equal. The key lies in the features. Here is a essential checklist of the features you should prioritize when selecting an electric mobile telescopic belt conveyor for your operation.

1. Robust Telescoping Range and Stability

The core function of the conveyor is to reach inside a trailer, eliminating the need for manual carrying.

Look for: A generous extension range that can comfortably service your most common trailer and container sizes. A high-quality conveyor will extend deep into a 45-foot trailer or more without compromising stability.

Why it matters: Maximum reach minimizes manual labor inside the trailer and maximizes efficiency. More importantly, ensure the unit remains perfectly stable and vibration-free even at full extension. A wobbly conveyor is a safety hazard and can damage goods.


2. Advanced, User-Friendly Control System

The control system is the brain of the operation. It should empower your operators, not confuse them.

Look for:

Ergonomic Remote Control: A wireless, industrial-grade remote allows the operator to control all functions—extension/retraction, belt speed, and steering—from the safest and most optimal vantage point.

Precise Control: Features like variable speed control and a soft start/stop function are crucial for handling fragile goods and preventing load shifts.

Intuitive Interface: Buttons should be logically placed and easy to understand, minimizing training time and operator error.

Why it matters: A smart control system enhances safety, improves efficiency, and reduces the learning curve for new employees.


3. Superior Mobility and Maneuverability

A "mobile" conveyor isn't useful if it's difficult to move.

Look for:

Powerful Electric Drive System: The self-propelled drive should be strong enough to move the loaded conveyor smoothly across your dock floor, even with slight inclines.

Excellent Maneuverability: Features like multi-directional steering modes (e.g., front-wheel, crab, and zero-turn) are invaluable for navigating tight spaces on a busy dock and positioning the conveyor with pinpoint accuracy.

Durable Wheels & Brakes: Heavy-duty, non-marking wheels protect your floor, and reliable parking brakes are essential for safety.

Why it matters: Easy mobility allows a single operator to quickly deploy the conveyor from one dock door to another, maximizing its utilization across multiple shifts and trucks.


4. Heavy-Duty Construction and Reliable Power

The loading dock is a harsh environment. Your equipment must be built to last.

Look for:

Rugged Materials: A frame constructed from high-strength steel or aluminum, offering a perfect balance of durability and weight.

High-Capacity Belt: The belt should be abrasion-resistant, have a high grip surface to prevent slippage, and be rated for the weight of your typical loads.

Long-Lasting Battery: A industrial-grade battery that provides enough power for a full shift (or more) on a single charge. Quick-charging capabilities are a significant advantage.

Why it matters: Durability directly translates to lower total cost of ownership by minimizing downtime and repair costs. A reliable battery ensures uninterrupted operations.


5. Integrated Safety Features

Safety should never be an afterthought. It must be engineered into the design.

Look for:

Emergency Stop Buttons: Multiple, easily accessible E-stop buttons on the machine and the remote control.

Safety Sensors: Non-contact safety scanners or bumpers that automatically stop the conveyor if an obstacle is detected during extension or movement, protecting both people and property.

Stable Outriggers: Automatic or manual outriggers that deploy to create a wide, stable base during operation.

Why it matters: Proactive safety features protect your employees, your products, and your equipment, making your entire operation more resilient and reducing the risk of costly accidents.


6. Modularity and Add-Ons

Your needs may evolve, so your conveyor should be able to adapt.

Look for: A conveyor system that can be customized with useful accessories.

Side Guides: Prevent items from falling off the sides.

Belt Reversers: Allow for quick switching between loading and unloading modes.

Integration Capabilities: The ability to connect with other conveyor lines or sortation systems for a fully automated dock solution.

Why it matters: This future-proofs your investment, allowing you to scale and adapt the equipment as your business and processes change.


Conclusion: Look Beyond the Price Tag

When evaluating an electric mobile telescopic conveyor, it's tempting to focus solely on the initial price. However, the true cost is measured over the equipment's entire lifespan. Investing in a high-quality conveyor with these critical features will pay dividends for years to come through:

Higher Uptime & Productivity

Lower Maintenance & Repair Costs

Enhanced Operator Safety & Satisfaction

Greater Flexibility for Future Needs


Choose a partner that doesn't just sell you a machine, but provides a robust, reliable, and intelligent solution tailored to your operational challenges. Do your research, ask for demonstrations, and prioritize these essential features to make an investment that your bottom line—and your team—will thank you for.

When You Encounter These 4 Situations, It's Time to Consider a Telescopic Belt Conveyor

2026-02-10

In today's fast-paced logistics and manufacturing environment, efficiency isn't just a goal—it's a necessity for survival. While manual loading and unloading have been the norm for decades, they are increasingly becoming a source of cost, complexity, and risk.

If your operation is facing any of the following four challenges, it's a clear signal that it's time to upgrade your workflow with a telescopic belt conveyor.


1. Soaring Labor Costs and the Shrinking Labor Pool

The Problem: You've seen it firsthand: labor costs are consistently rising year after year. More critically, finding reliable workers for physically demanding roles has become a monumental challenge. The traditional model of relying on a large team of manual laborers is no longer sustainable or cost-effective.

The Solution: A telescopic conveyor is a force multiplier. A single operator can manage the entire loading/unloading process of a truck, directing the conveyor in and out and controlling the flow of goods. This dramatically reduces your dependence on a large manual workforce, transforming variable and rising labor costs into a fixed, manageable capital investment. It's not about replacing people, but about empowering your existing team to achieve more with less physical strain.


2. Crippling Inefficiency and Mounting Detention Fees

The Problem: Slow, manual loading and unloading mean trucks sit idle at your dock for hours. In the world of logistics, time is literally money. These delays directly lead to detention fees—costly penalties charged by carriers for exceeding allotted loading/unloading times. These are unpredictable expenses that can destroy your budget and strain relationships with your transport partners.

The Solution: Speed and consistency are the core strengths of a telescopic conveyor. It allows goods to move from the dock to the far end of the trailer (and vice-versa) in a continuous, rapid flow. By cutting loading/unloading times by up to 50-70%, you can get trucks in and out faster, eliminate detention fees, and significantly increase your dock throughput. A faster dock means a more predictable and profitable supply chain.


3. Increasing Product Variety and Operational Complexity

The Problem: As your business grows and evolves, so does your product mix. You might be handling everything from small parcels and boxes to heavy drums or irregularly shaped items. A one-size-fits-all manual approach can't efficiently handle this complexity. It leads to confusion, slower handling times, and a higher risk of errors and damage.

The Solution: Telescopic belt conveyors offer unparalleled flexibility and gentle handling. They can be equipped with different belt types (e.g., roller beds for stability) and can seamlessly integrate with sorting systems. Whether you're moving lightweight e-commerce parcels or stable unit loads, the conveyor provides a consistent and adaptable solution. It simplifies complex logistics, allowing you to handle a diverse range of products on a single, efficient system.


4. High Physical Strain and Workplace Injuries

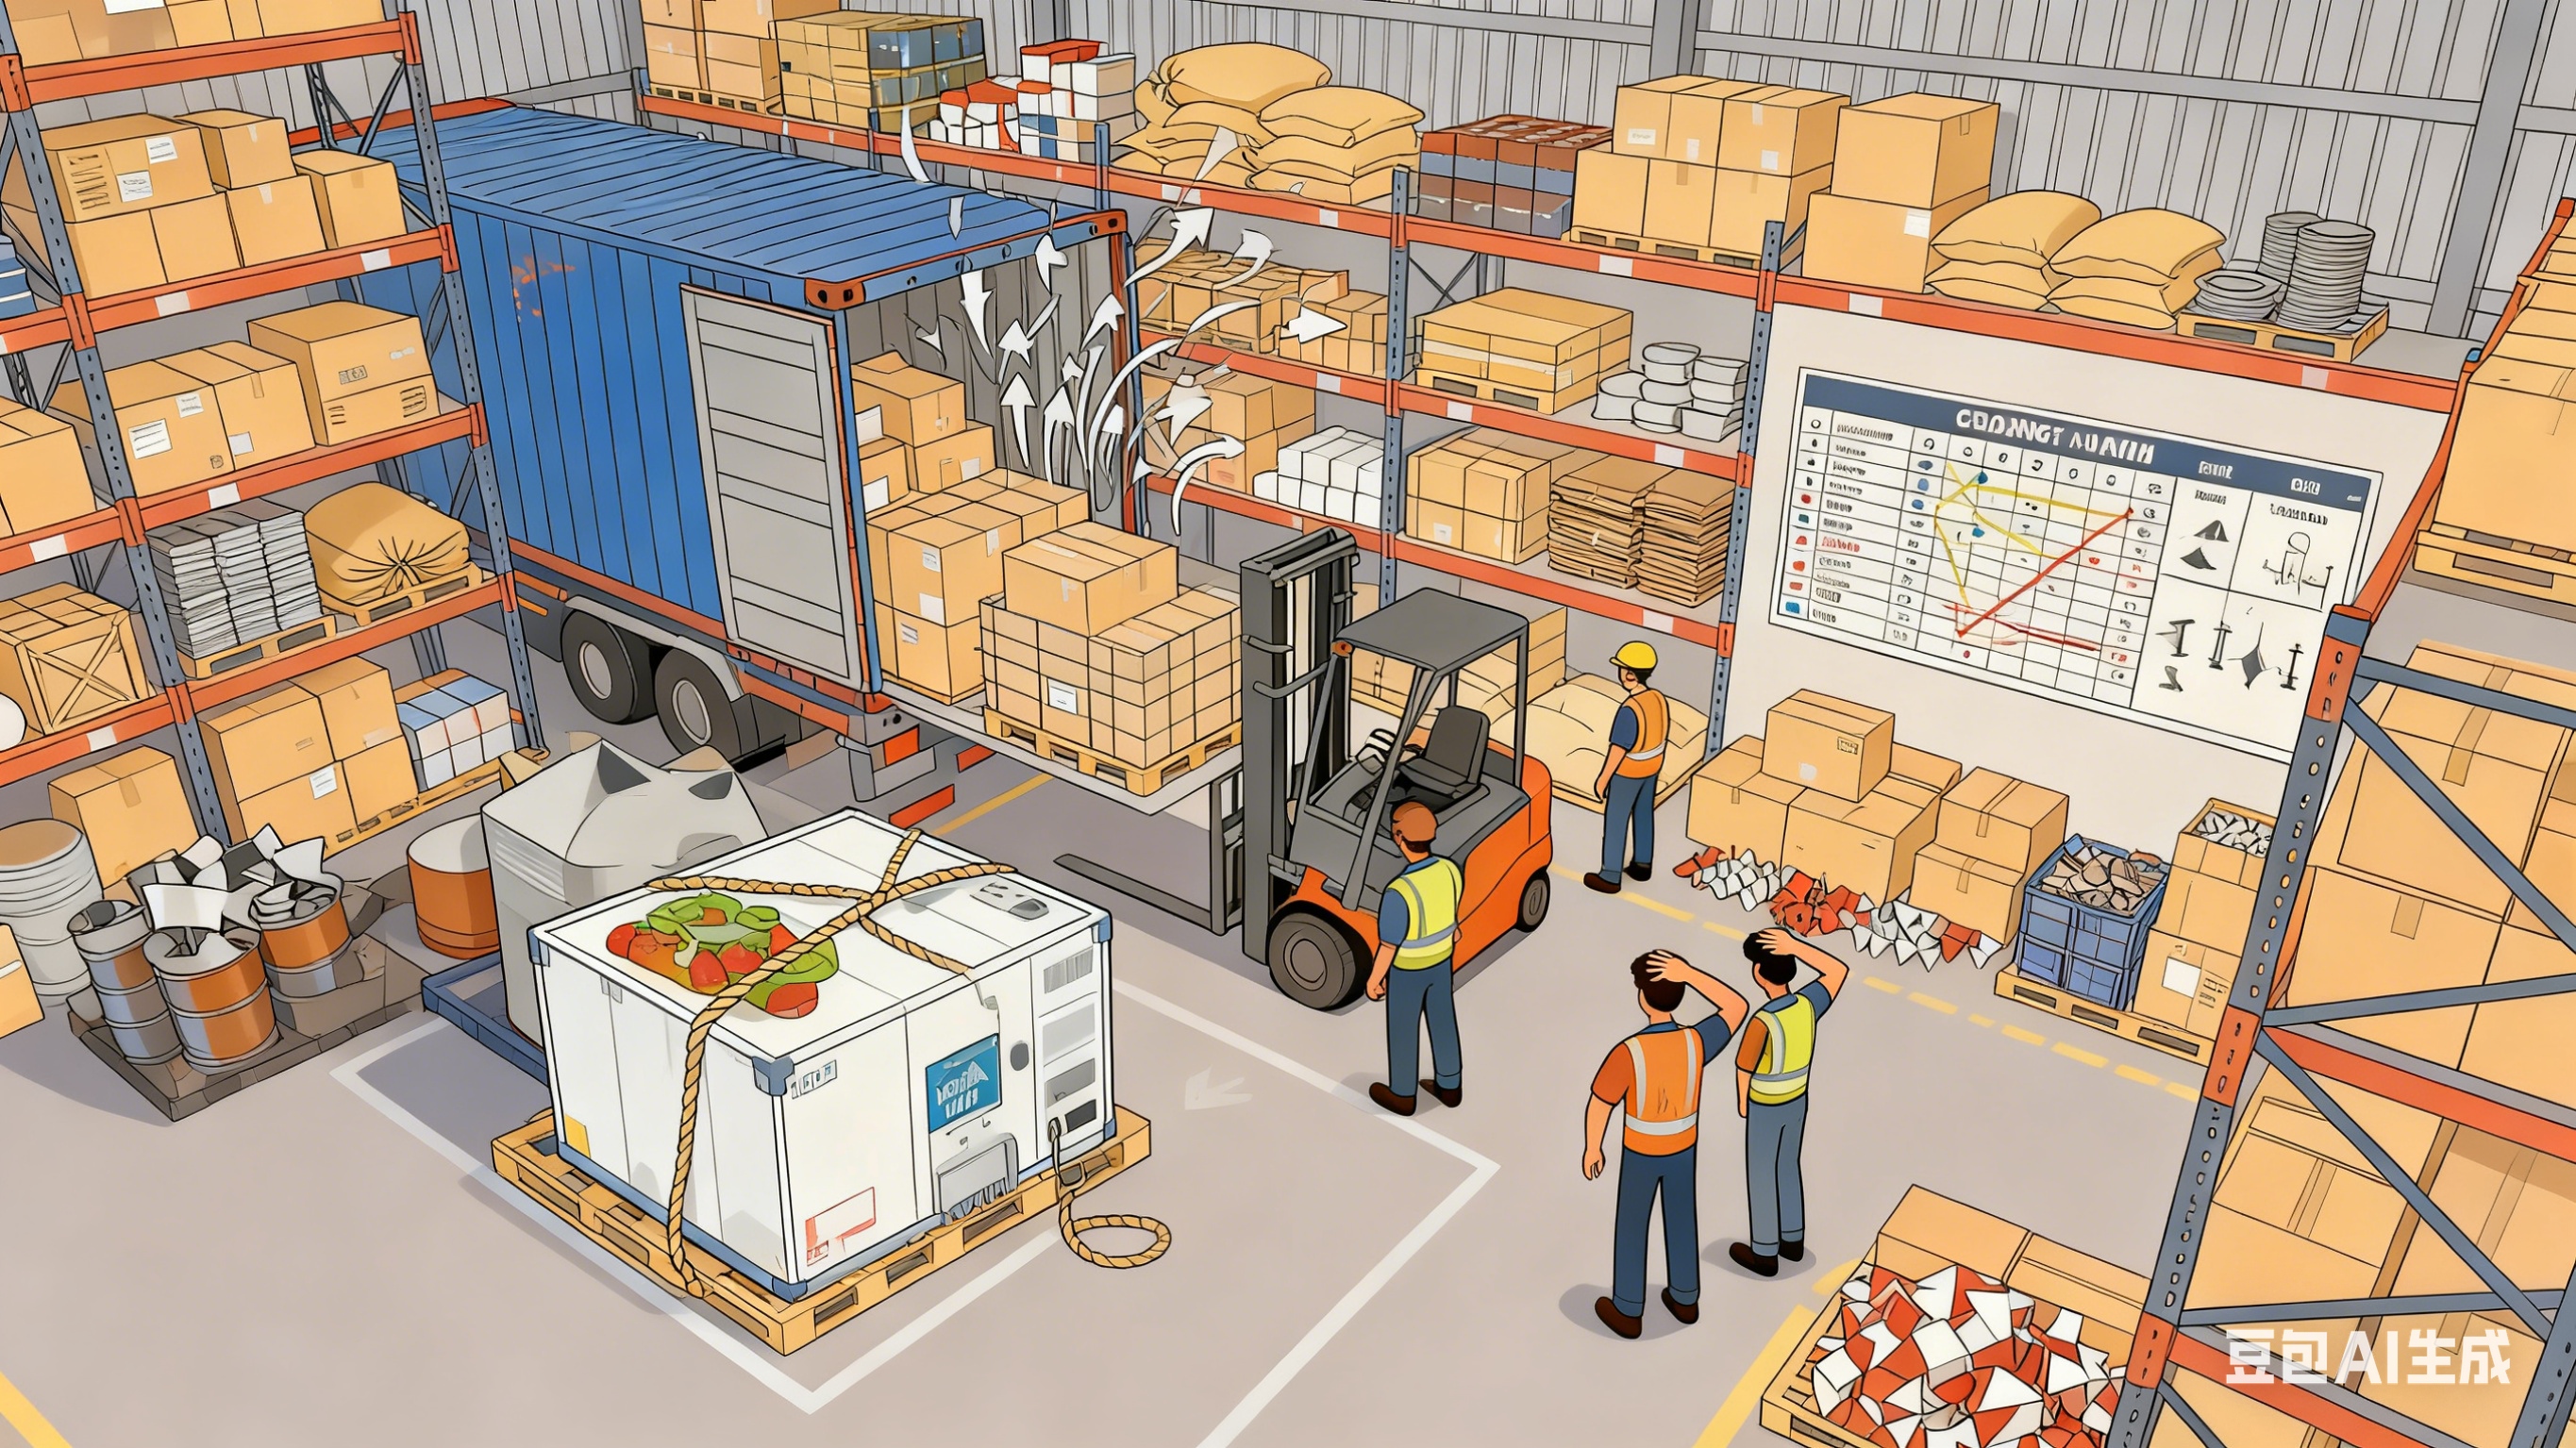
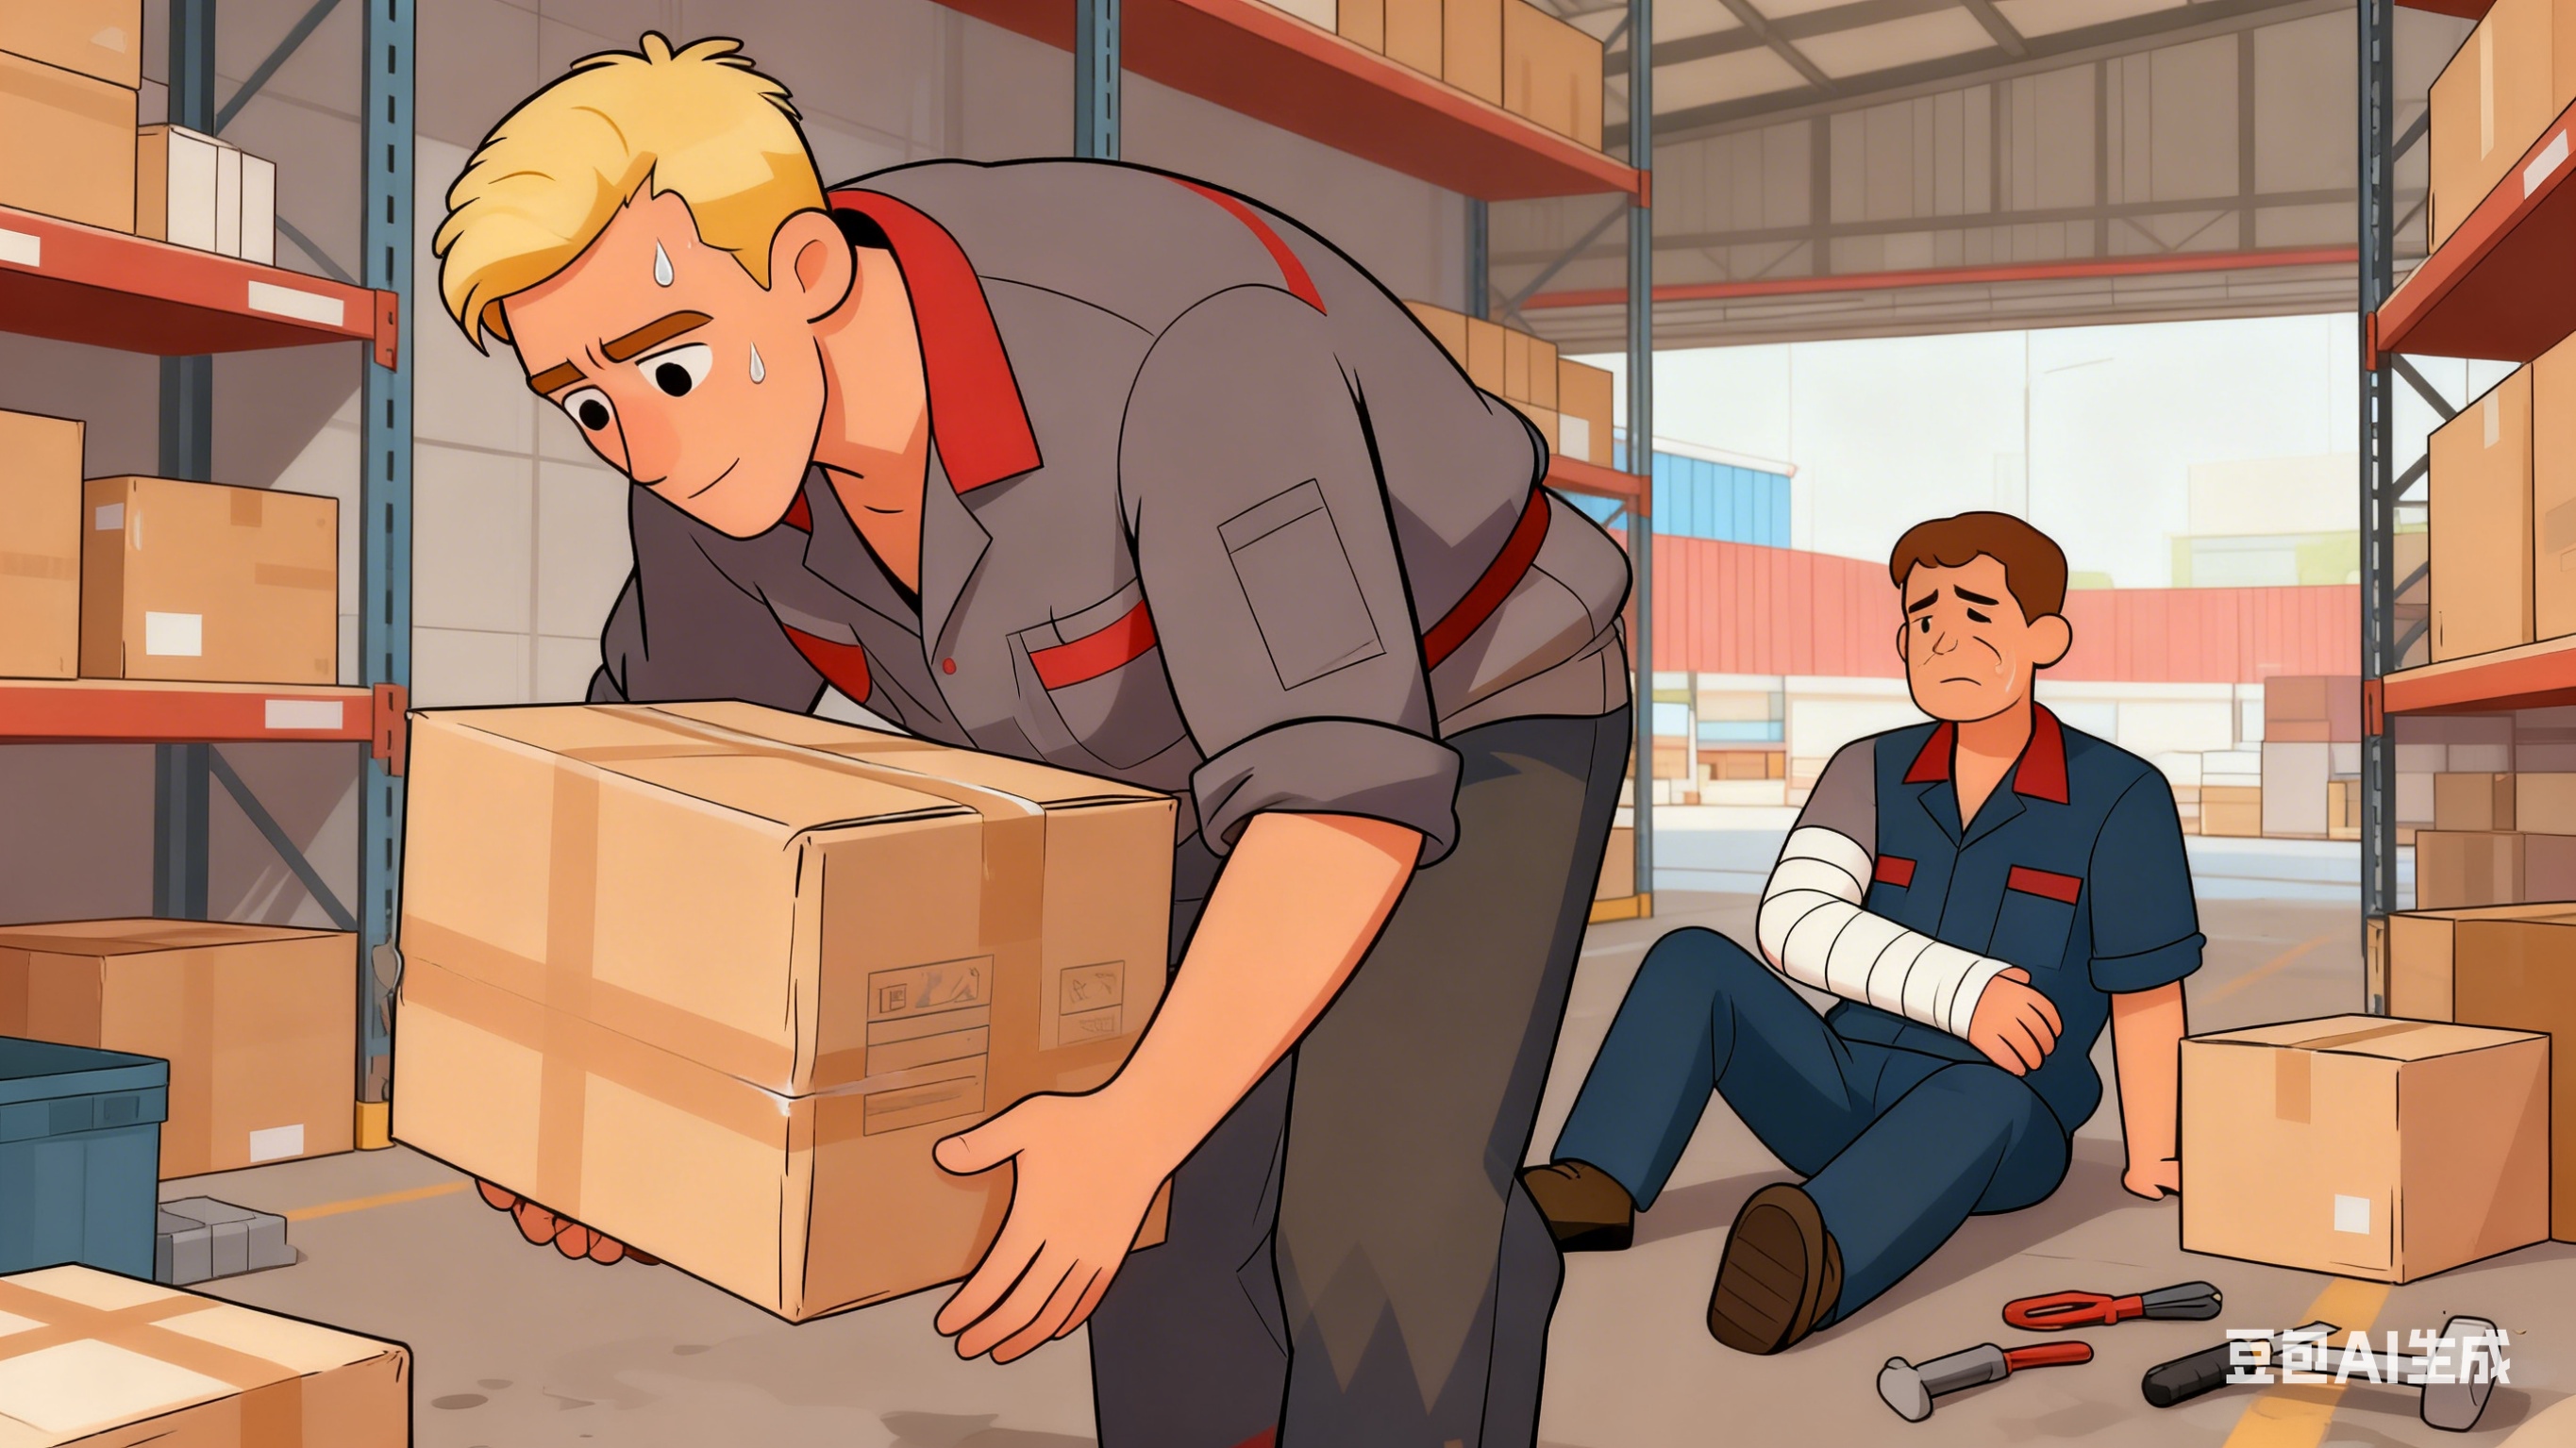
The Problem: Manual loading/unloading is one of the most phy sically taxing jobs in any warehouse. The constant lifting, bending, and walking in and out of trailers lead to extreme fatigue and a high risk of musculoskeletal disorders (MSDs). This not only results in painful injuries for your employees but also leads to increased absenteeism, high staff turnover, and rising insurance premiums

The Solution: Implementing a telescopic conveyor is a powerful investment in workplace safety and employee well-being. It does the heavy lifting, carrying the load directly to and from the operator. Employees no longer need to climb in and out of trucks or carry heavy items over long distances. This creates an ergonomic working environment, drastically reduces the potential for accidents and strains, and shows your team that you value their health and safety. A safer workplace is a more productive and positive one.


Conclusion: It's Time to Make the Strategic Move

If any of these four scenarios sound familiar, the question is no longer if you should automate your loading dock, but when. A telescopic belt conveyor is not merely a piece of equipment; it's a strategic solution that directly addresses the most pressing challenges in modern material handling.

It's an investment that pays for itself by reducing costs, boosting efficiency, enhancing flexibility, and safeguarding your most valuable asset—your people.

Ready to transform your loading dock? Contact us today for a free consultation and see how a telescopic conveyor can be tailored to solve your specific operational challenges.

800mm 1000mm Arix Segment Wall Saw Blade

2026-02-06

SANG DIOAMOND TOOLS 800mm 1000mm Arix Segment Wall Saw Blade blade is used for major construction, renovation, and demolition projects:

Creating Large Openings: For doors, windows, or new passageways in thick concrete walls.

Controlled Demolition: Precisely removing sections of concrete structures like bridges, foundations, or parking garages.

Nuclear Decommissioning: Cutting through massively thick reinforced concrete.

Heavy Civil Engineering: Modifying dams, tunnels, and other large-scale infrastructure.


Key Considerations When Choosing 800mm 1000mm Arix Segment Wall Saw Blade The actual performance depends heavily on the blade's specification, which you must match to your material.


Bond Hardness (The most critical factor):

The metal matrix that holds the diamonds (the "bond") must wear away at the correct rate to expose fresh, sharp diamonds. The hardness of the material you are cutting determines the bond you need.

Soft Bond: For cutting Abrasive Materials (e.g., green concrete, asphalt, soft brick). The material wears the bond down quickly to constantly expose new diamonds.

Hard Bond: For cutting Hard, Non-Abrasive Materials (e.g., cured/hard concrete, granite, engineered stone). A harder bond is needed so it doesn't wear down too fast against the tough material.


Segment Type:

ARIX Segment: The most popular type. The segmented rim has gullets (gaps) that allow for better water flow, cooling, and faster chip removal. A good all-around choice for reinforced concrete.

800mm 1000mm Arix Segment Wall Saw Blade is a professional-grade tool for deep, heavy-duty concrete cutting.


Before you purchase or use one, you MUST know:

Material to be Cut: What is the compressive strength of the concrete? Is it old or new? Is it heavily reinforced with rebar?

Machine Compatibility: Ensure your wall saw machine can handle an 800mm blade in terms of arbor size (typically 50mm or 60mm), horsepower, and RPM.

Correct Specification: Work with your supplier to select the correct bond hardness and segment design for your specific job. Using the wrong blade will lead to poor performance, premature wear, or damage.

Here is our 800mm 1000mm Arix Segment Wall Saw Blade performance for you reference.

Precision Meets Power Exploring the SANG 180mm/7”Diamond Turbo Cutting Blade for Concrete and Stone

2026-02-06

Precision Meets Power The 62MM Arix Turbo Segment Laser Welded Diamond Core Drill Bit by Sang Diamond Tools

2026-02-06


In the world of professional concrete and masonry drilling, precision, durability, and speed are non-negotiable. At Sang Diamond Tools, we understand the demands of modern construction, which is why we’re proud to introduce one of our latest innovations: the 62MM Arix Turbo Segment Laser Welded Diamond Core Drill Bit—a powerhouse tool designed to outperform in the toughest reinforced concrete and masonry applications.


Whether you're a contractor, construction manager, or tool distributor, this Diamond Core Drill Bit is engineered to redefine your drilling experience.

What Makes Our 62MM Diamond Core Drill Bit Stand Out?
1. Arix Technology for Superior Cutting Speed
At the heart of this drill bit is advanced Arix segment technology—a revolutionary method of diamond arrangement that ensures optimal distribution throughout the segment. This means each diamond is positioned for maximum exposure, resulting in faster, more efficient cutting.
Unlike traditional segments, the Arix Core Drill Bit delivers:
Higher drilling speed
Longer tool life
Consistent performance across various materials
Whether you're cutting through reinforced concrete, brick, or dense masonry, this bit is built to last and outperform.

2. Precision Laser Welding for Maximum Durability
Laser welding is the gold standard in segment attachment, and we’ve taken this to the next level. The 62MM Diamond Core Drill Bit is laser welded under strict quality control to ensure:
Strong bonding between the segment and the core
High resistance to heat and vibration
Zero segment loss even under extreme pressure
This makes it the ideal choice for heavy-duty, high-speed drilling in challenging environments.

3. Turbo Segment Design for Cleaner, Faster Cuts
The turbo segment design promotes faster debris removal and reduces friction, allowing for:
Smoother operation
Clean-cut edges
Reduced wear on the core barrel
This feature not only enhances drilling speed but also minimizes downtime and reduces your overall project cost.

Applications: Built for the Toughest Jobs
This Diamond Core Drill Bit is suitable for a wide range of professional applications, including:
Reinforced concrete cutting
Electrical and plumbing installation
HVAC coring
Masonry wall drilling
Infrastructure and civil engineering projects
With OEM customization supported, we can tailor the drill bit to meet the exact needs of your market or brand.

Why Choose Sang Diamond Tools?
At Sang Diamond Tools, we combine years of industry experience with cutting-edge manufacturing to produce tools that professionals trust. Our commitment to innovation, quality, and customer satisfaction sets us apart in the diamond tools industry.

With global distribution capabilities and OEM services, we are ready to help you scale your business with premium drilling solutions.

Key Product Specifications:
Diameter: 62MM
Segment Type: Turbo Arix Segment
Welding Method: Laser Welded
Application: Reinforced Concrete, Brick, Masonry
Customization: OEM/ODM Available

Boost Your Productivity with Sang’s 62MM Arix Core Drill Bit


If you're looking for a 62MM Diamond Core Drill Bit that offers unmatched performance, durability, and speed, look no further. The Arix Core Drill Bit from Sang Diamond Tools is your go-to solution for cutting through the toughest materials with ease.

Reach out to our sales team today to learn more about pricing, distribution, or OEM support.

Contact Us Today
Let Sang Diamond Tools power your next project with tools that deliver precision, speed, and strength.

SANG 400mm Diamond Arix Saw Blades Reshaping Stone Processing With Technology

2026-02-06


In the fast-evolving world of stone processing, precision and efficiency are no longer optional—they are essential. At SANG Diamond Tools, we are proud to introduce the 400mm diameter Arix Diamond Saw Blade, a cutting-edge innovation that is transforming how professionals cut granite, quartz, and other engineered stones.


The Evolution of Diamond Saw Technology
Traditional diamond saw blades rely on randomly scattered abrasive grains, often resulting in inefficiencies, uneven wear, and inconsistent cutting performance. Our Arix Diamond Saw Blade changes the game entirely, with a geometrically ordered diamond matrix that ensures each diamond grain is placed with mathematical precision—like a well-organized army moving in perfect formation.

What Sets the 400mm Diamond Saw Blade Apart?
1. Ordered Diamond Distribution
Using advanced computer simulation and fluid dynamics, each diamond grain is strategically placed to maximize cutting efficiency and reduce waste material. This optimized pattern enhances both the blade's aggressiveness and stability during operation.

2. Differentiated Zoning Layout
The cutting zone is densely packed to ensure faster and deeper cuts, while the side zones are engineered to minimize friction—striking a perfect balance between speed and precision.

3. Custom Metal Bond Formulation
Our proprietary metal bond provides superior holding strength for the diamonds while maintaining self-sharpening properties. This innovation extends the blade’s lifetime and reduces the frequency of blade replacement.

Cutting-Edge Performance Backed by Data
Statistical testing and real-world client feedback validate the superior performance of the 400mm Diamond Saw Blade:
35–40% increase in cutting efficiency for granite
25–30% increase in cutting speed for quartz
Over 200 hours of stable operation on granite with Mohs hardness 7–8
50% longer lifespan compared to traditional blades
70% reduction in edge chipping
Thickness tolerance within ±0.15mm, reducing the need for secondary polishing
These benefits do more than improve productivity—they directly reduce energy consumption, optimize raw material usage, and minimize waste, aligning with both environmental and operational goals.

Why Choose SANG’s Arix Diamond Saw Blade?
Predictable Performance Through Quality Control
Every blade undergoes strict internal testing to ensure it meets our high standards. We don’t just deliver blades—we deliver reliability.

Custom Solutions for Every Application
Whether you're cutting dense black granite or delicate engineered quartz, we offer tailored configurations:

Adjustable diamond grit size and concentration
Customized segment heights and widths
Compatibility optimization for bridge saws and manual cutters
Eco-Friendly and Cost-Efficient
Longer lifespan means fewer replacements. Higher precision means less waste. Greater efficiency means lower power bills. With the 400mm diameter Arix Diamond Saw Blade, you get a triple win in performance, cost, and sustainability.

Final Thoughts: Leading the Future of Stone Cutting
The Arix Diamond Saw Blade isn't just another tool—it's a technological advancement designed to meet the rigorous demands of modern stone processing. By integrating precision engineering, intelligent design, and sustainable thinking, SANG Diamond Tools is helping fabricators and manufacturers reshape their production lines—literally and figuratively.

If you're ready to elevate your cutting performance, reduce costs, and future-proof your operations, it's time to switch to the 400mm Diamond Saw Blade by SANG.

Tags